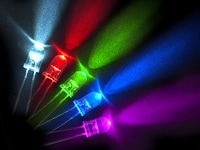
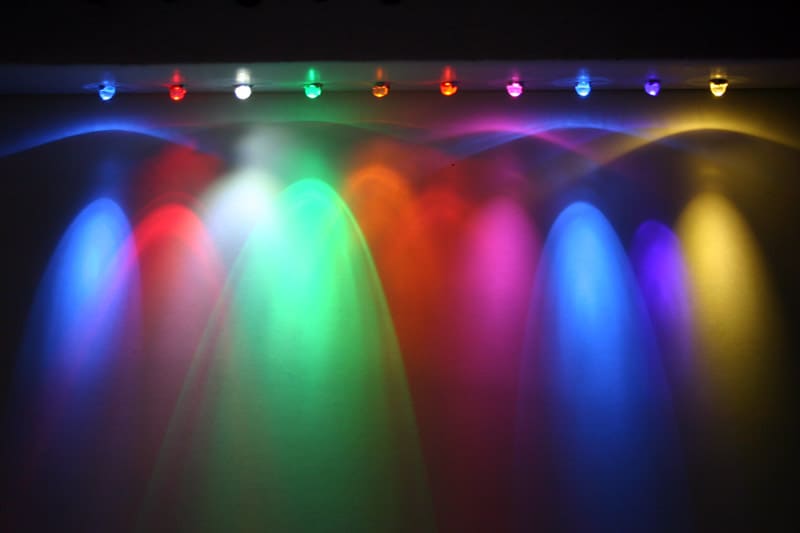
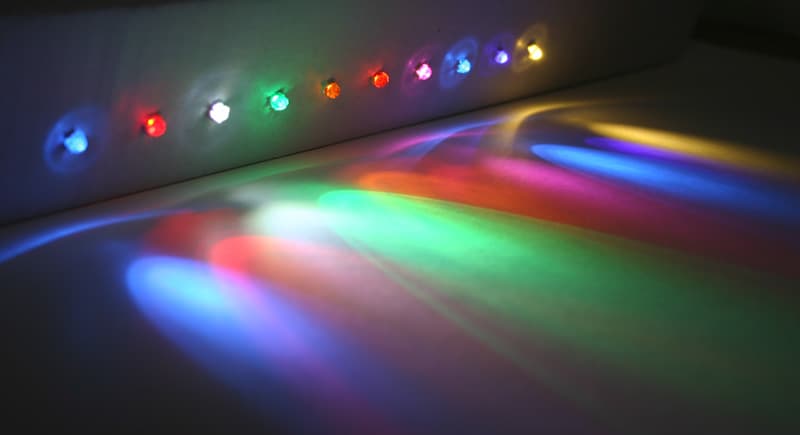
Sometimes you just need total control over your vehicular light show, and the best way to control your car lighting is to work with LEDs. These Super Bright LED lights are available in 9 colors, they're incredibly inexpensive, they can be installed just about anywhere on your vehicle, draw a tiny amount of battery power, last for years and produce next to no heat. About the only thing they won't do is give you more horsepower!
We don't know of any other lighting technology that can boast a set of features like these:
- Extremely low power consumption
- Extremely low heat output
- Can be installed almost anywhere
- Will last up to 100,000 hours
- Available in 9 colors (mix them to create other colors)
- Low cost - less than a dollar each
Is it any wonder that traditional lighting companies have been moving towards implementing LED lights in their own product line? LED lighting for everything is quick becoming a reality!
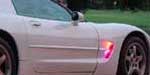
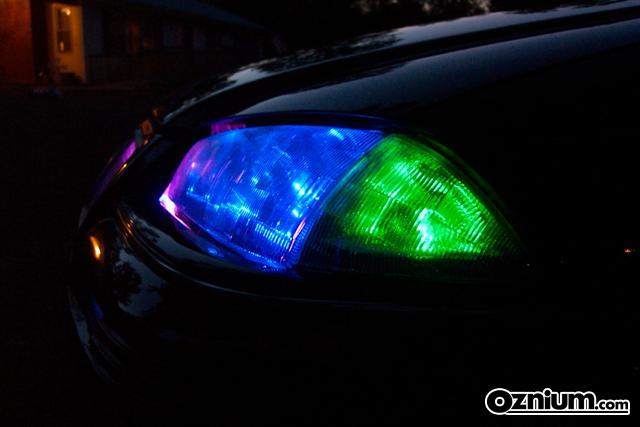
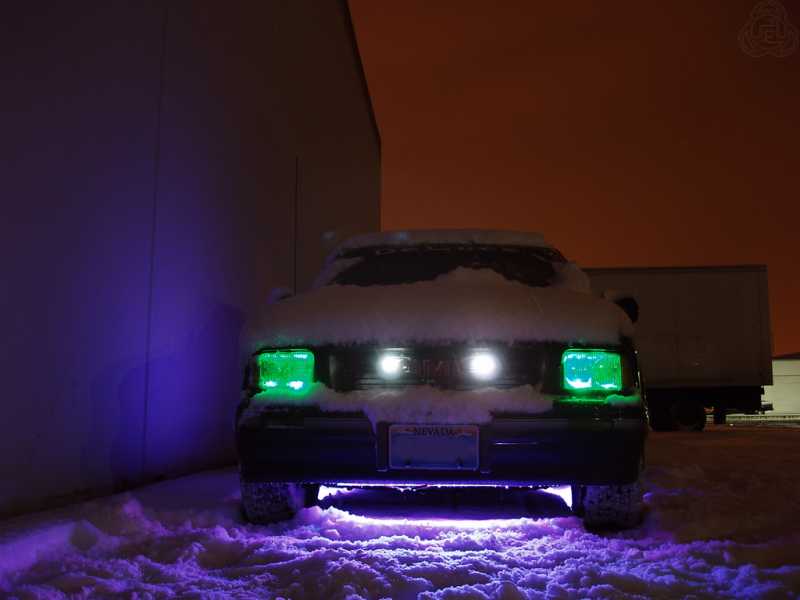
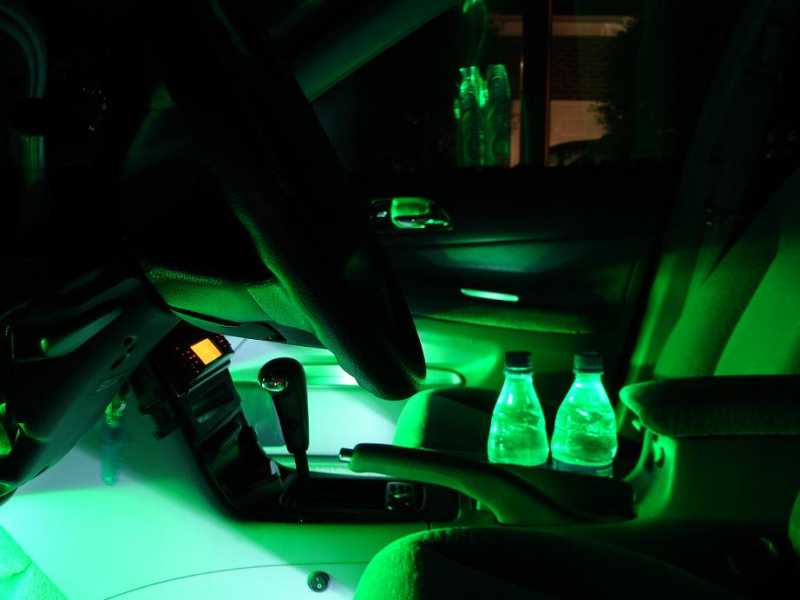
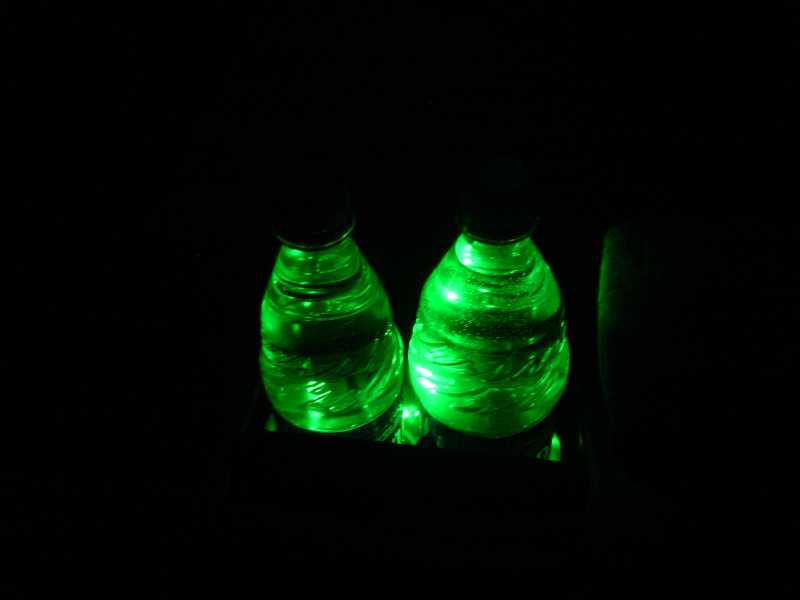
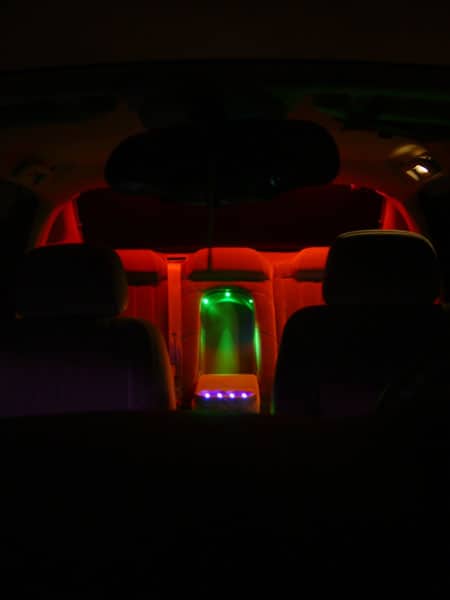
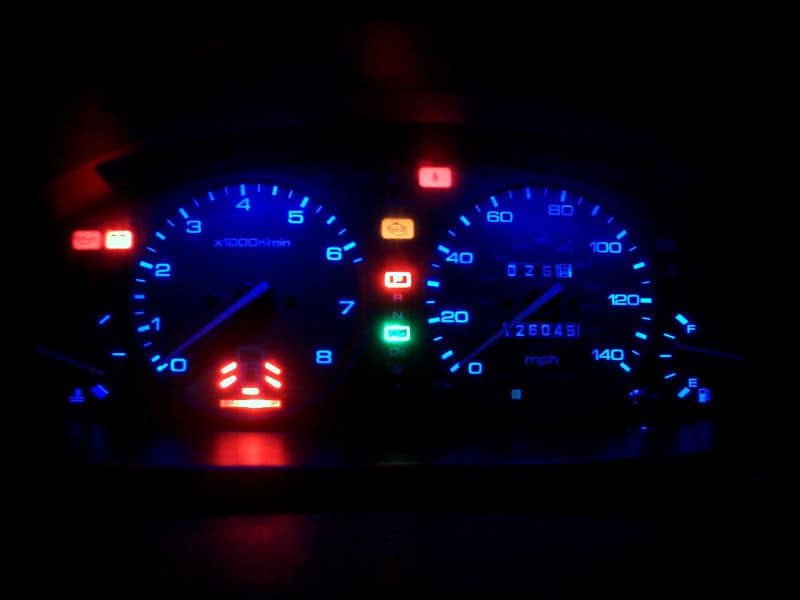
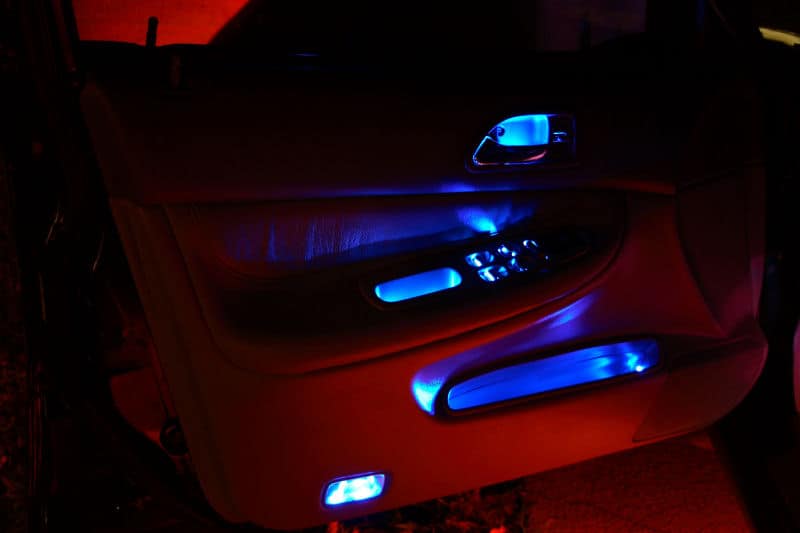
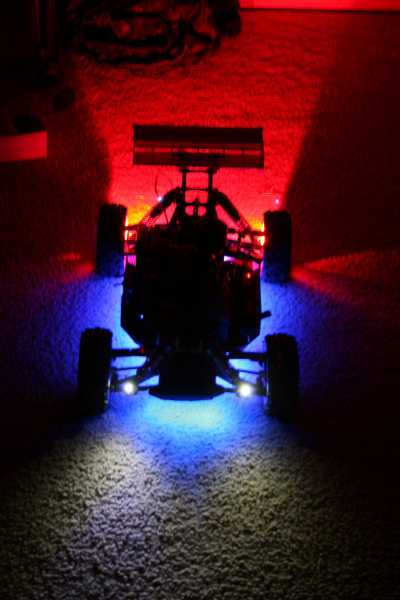
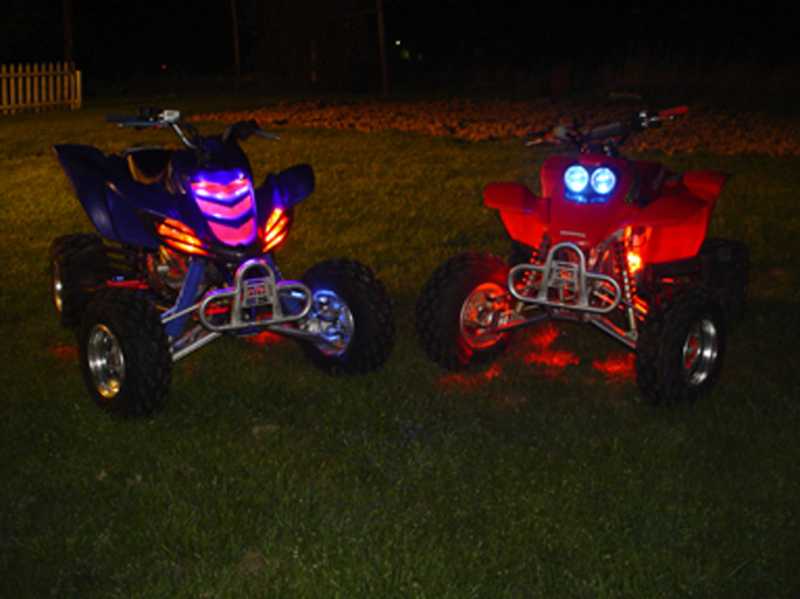
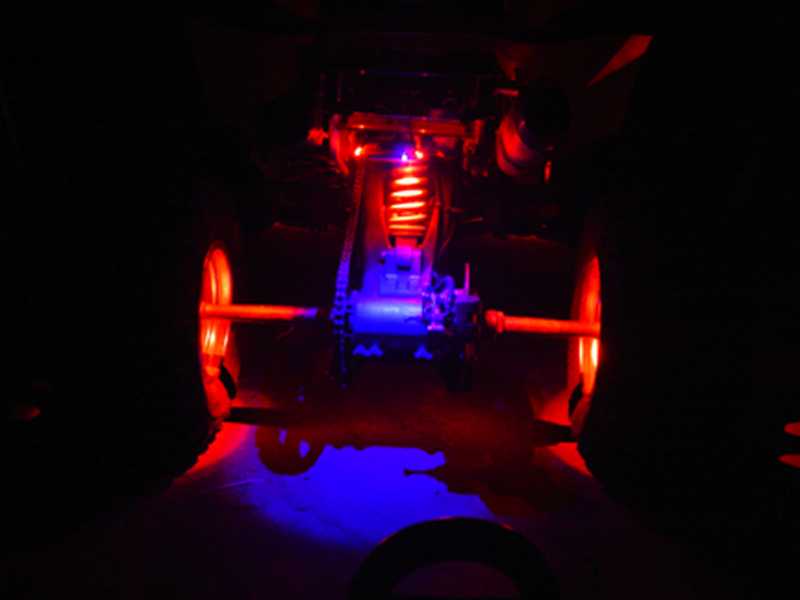
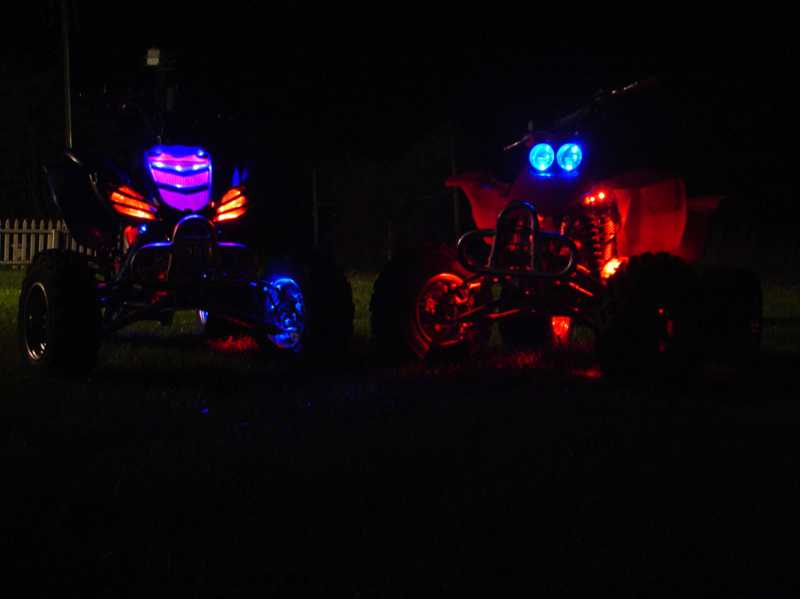
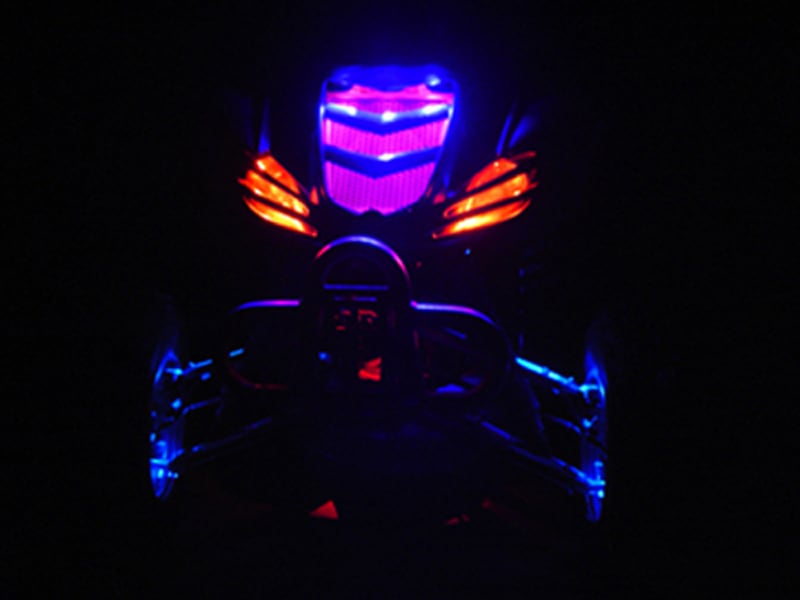
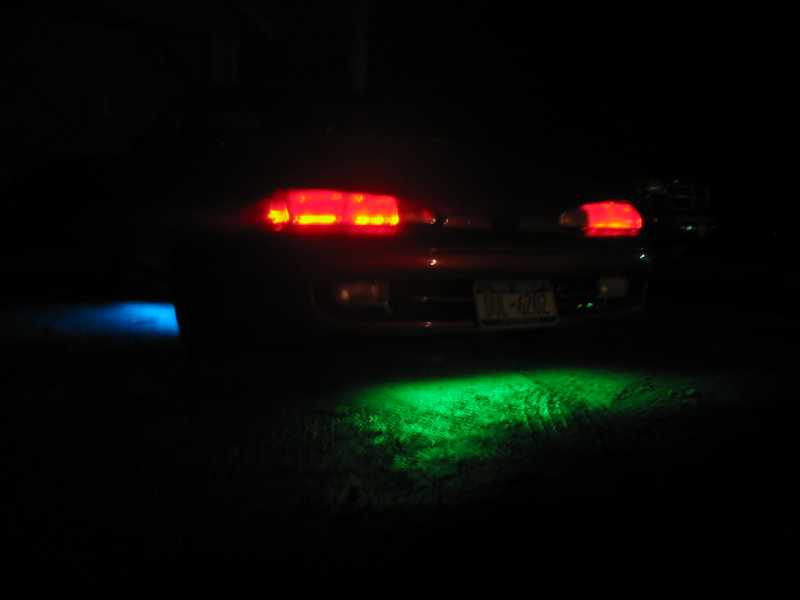
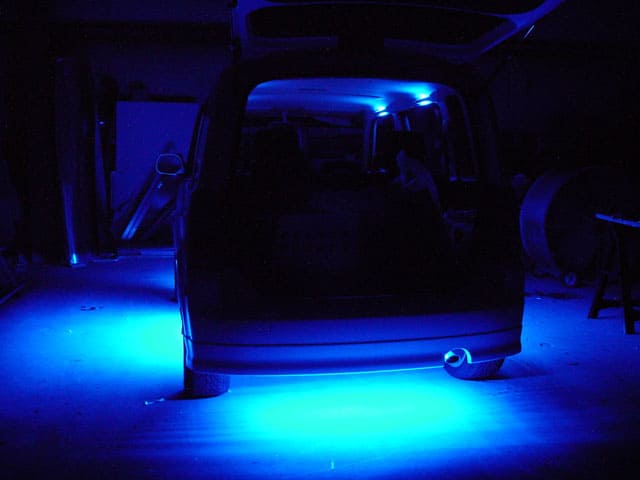
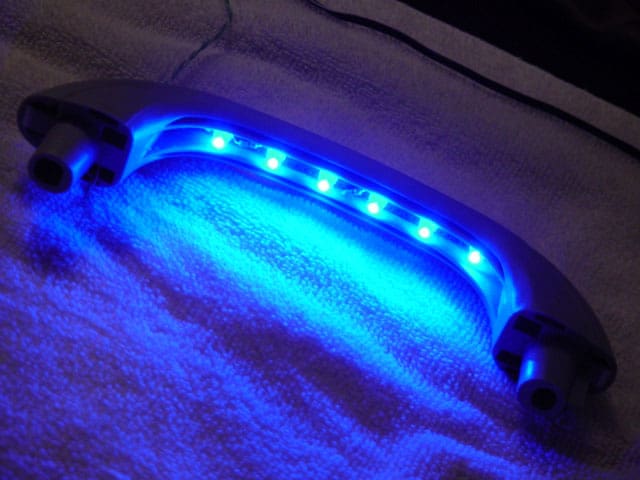
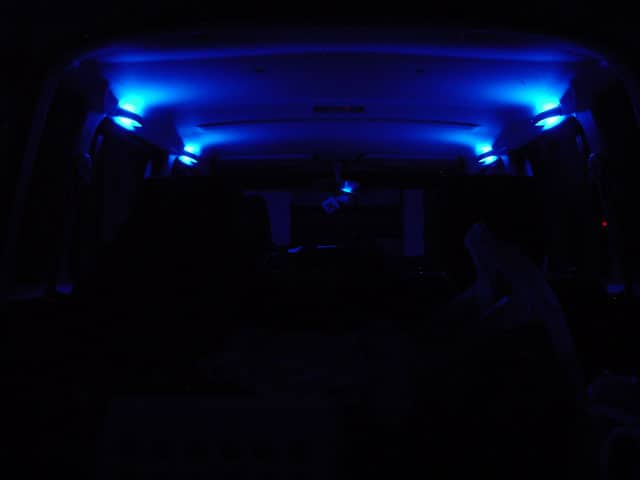
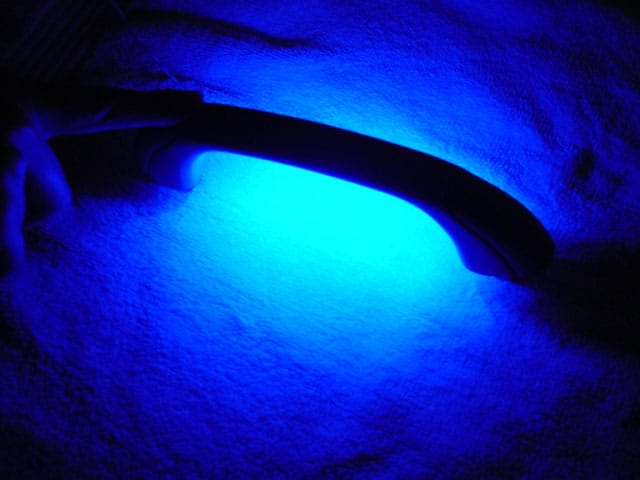
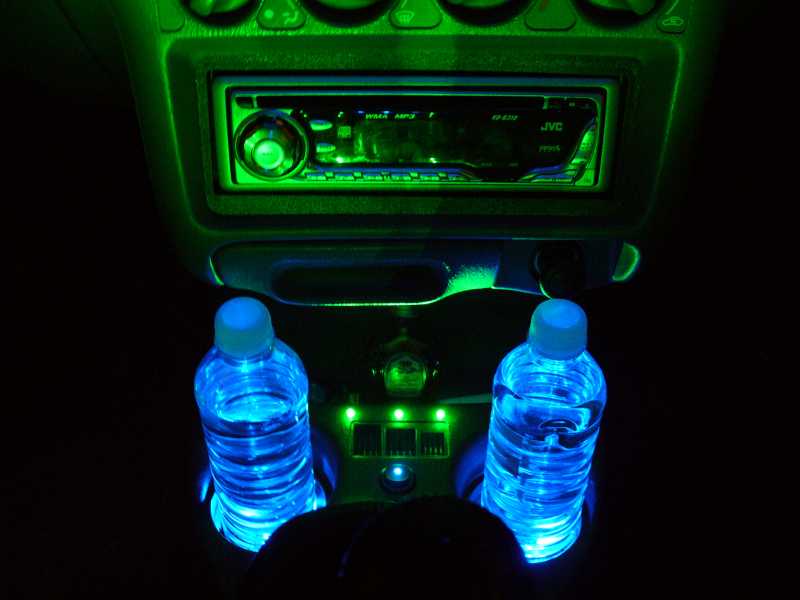
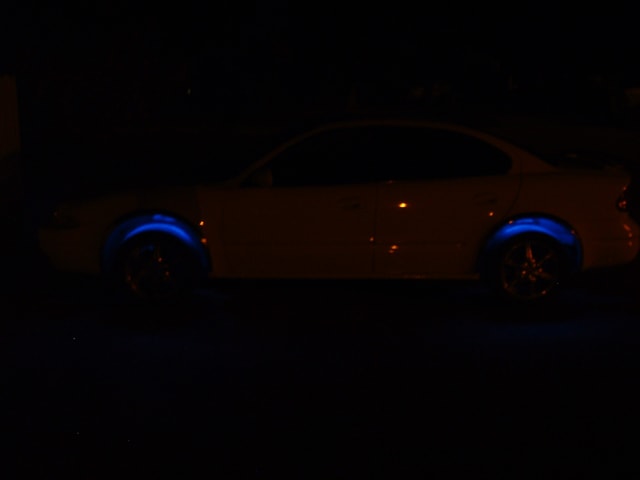
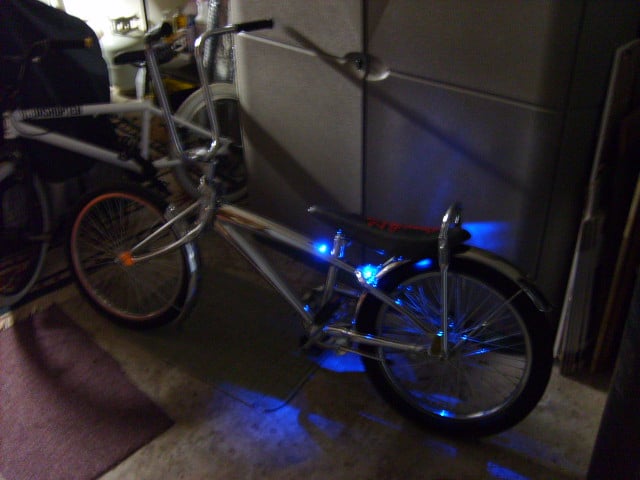
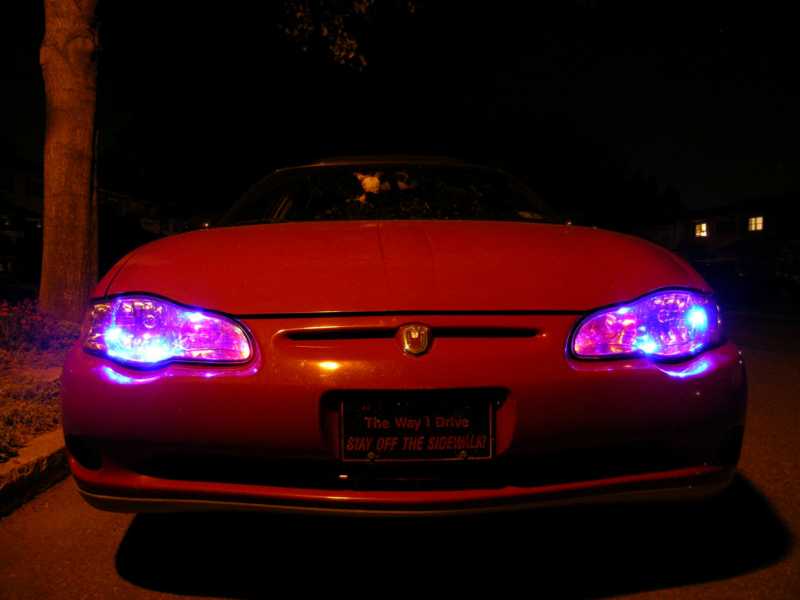
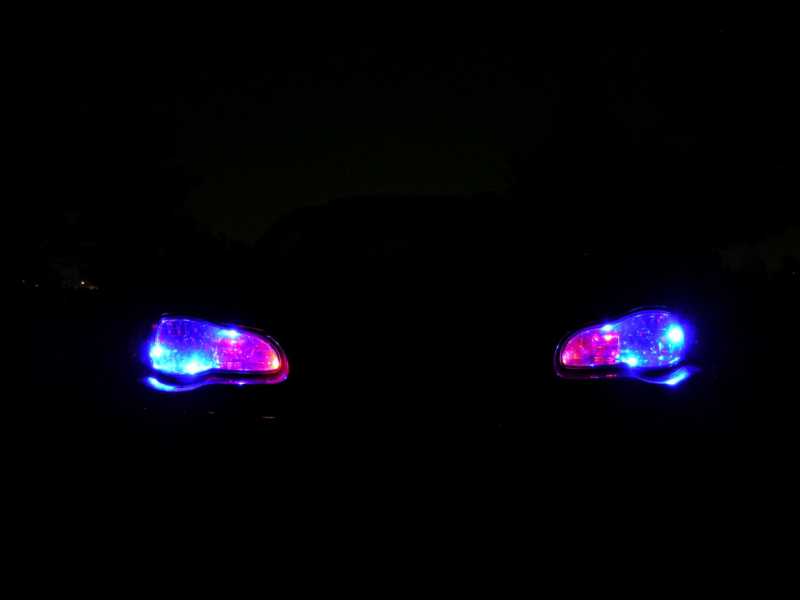
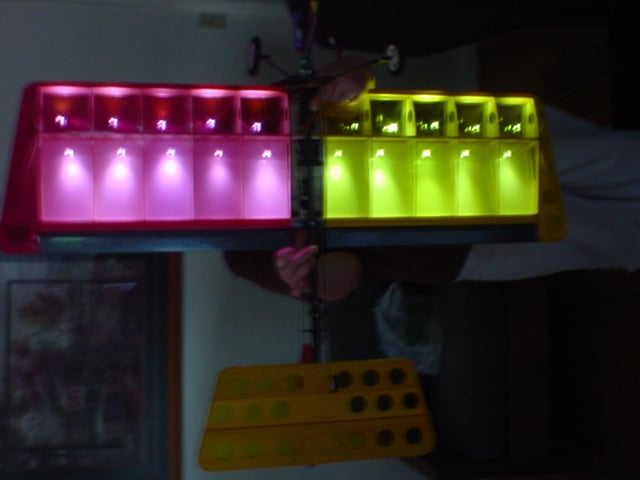
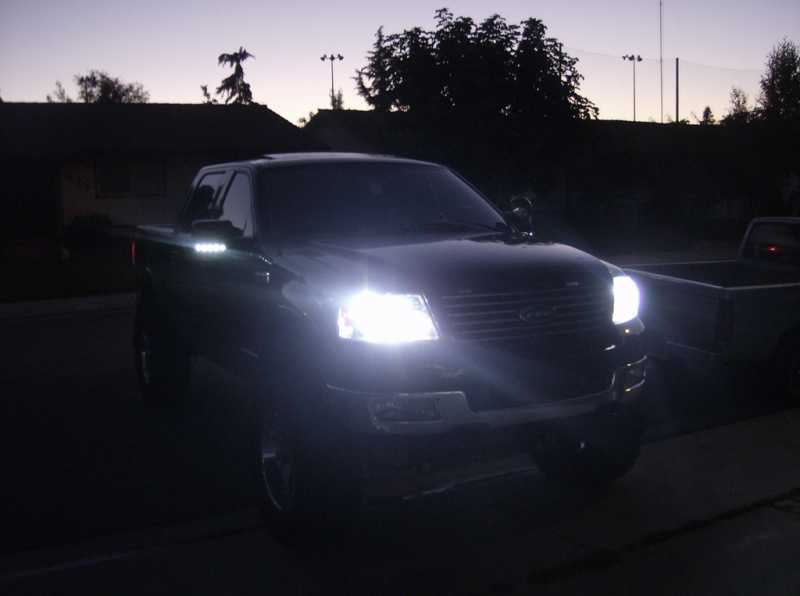
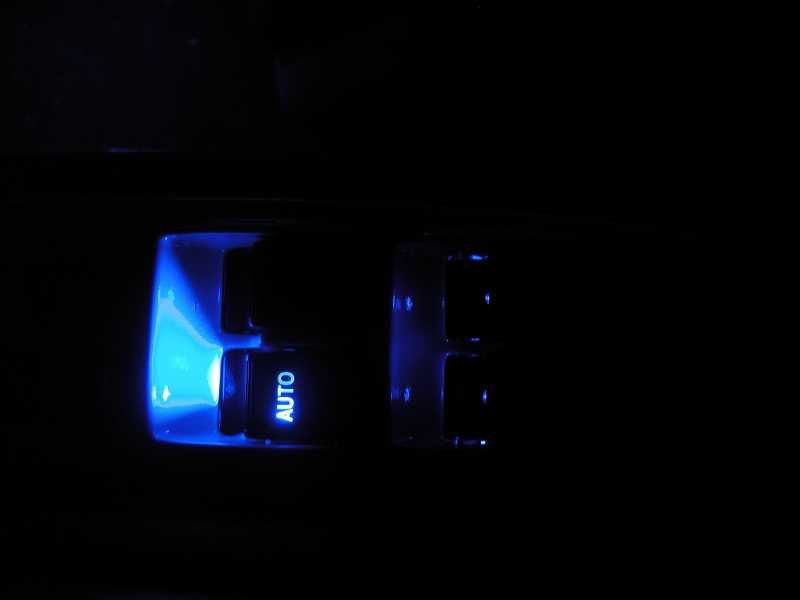
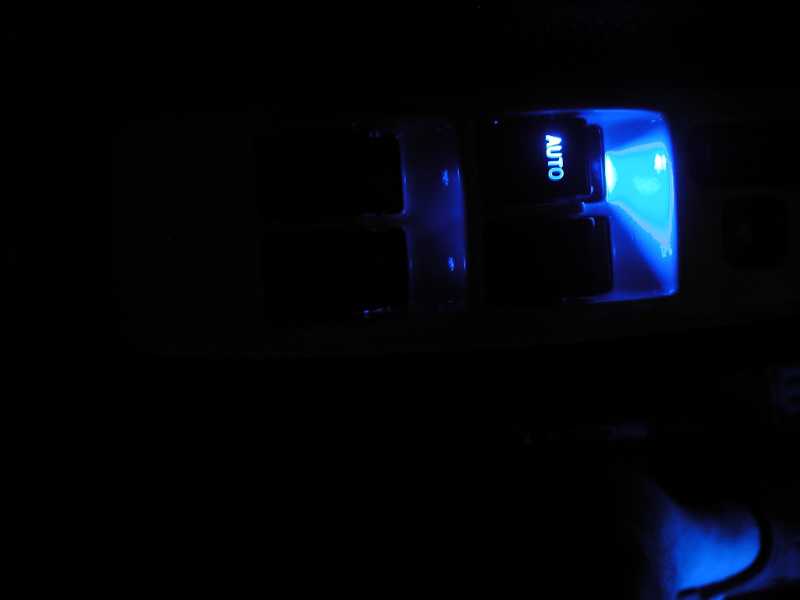
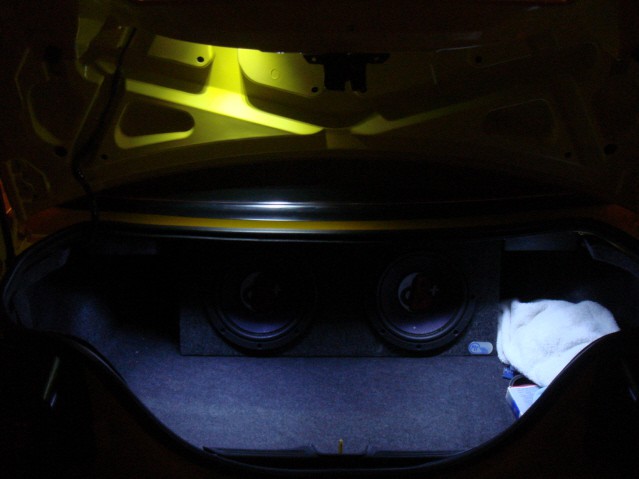
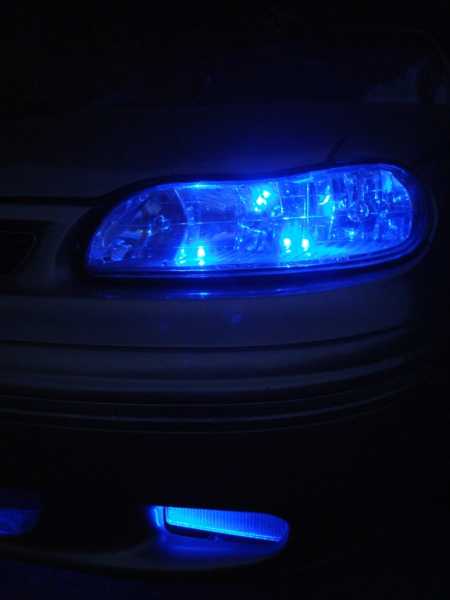
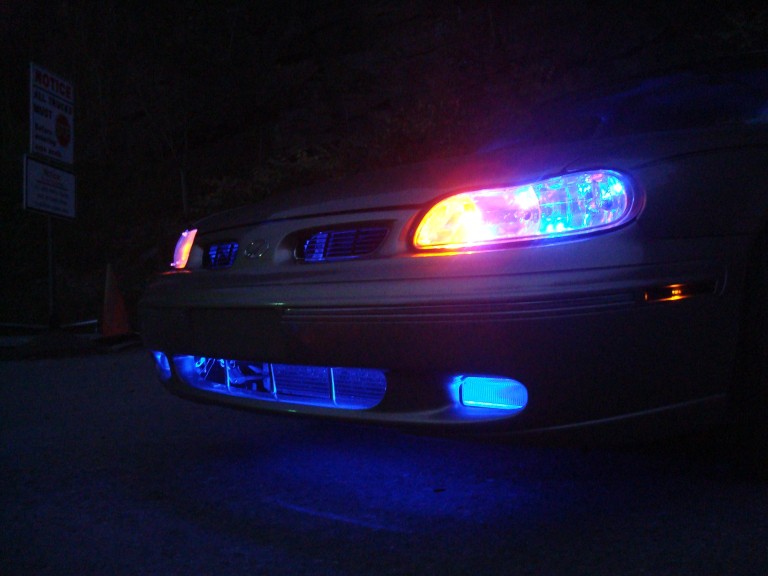
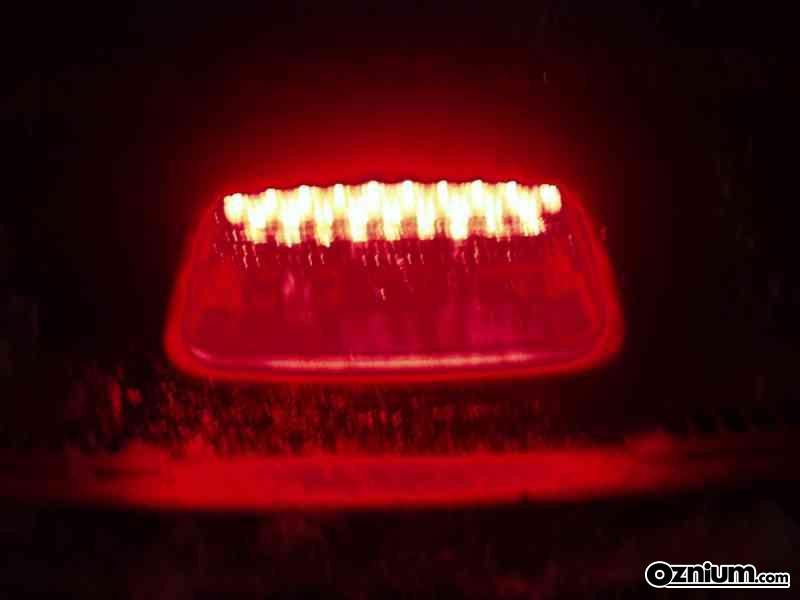
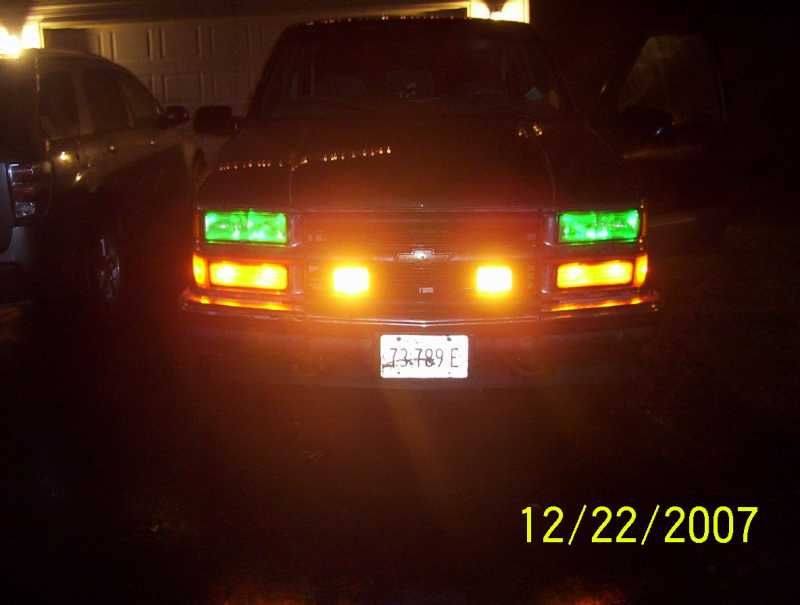
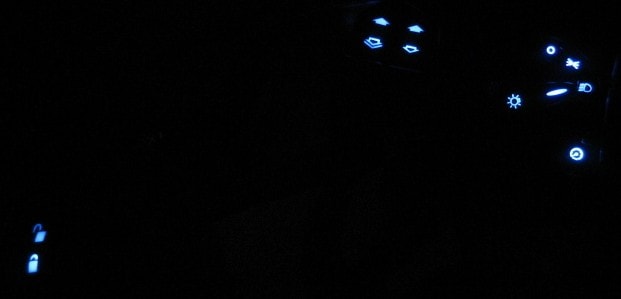
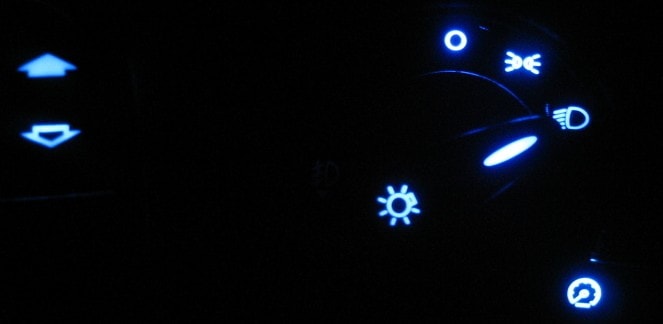
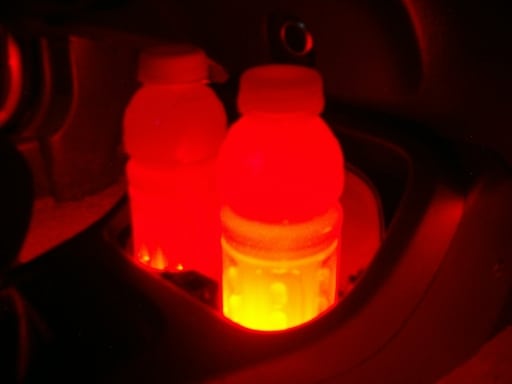
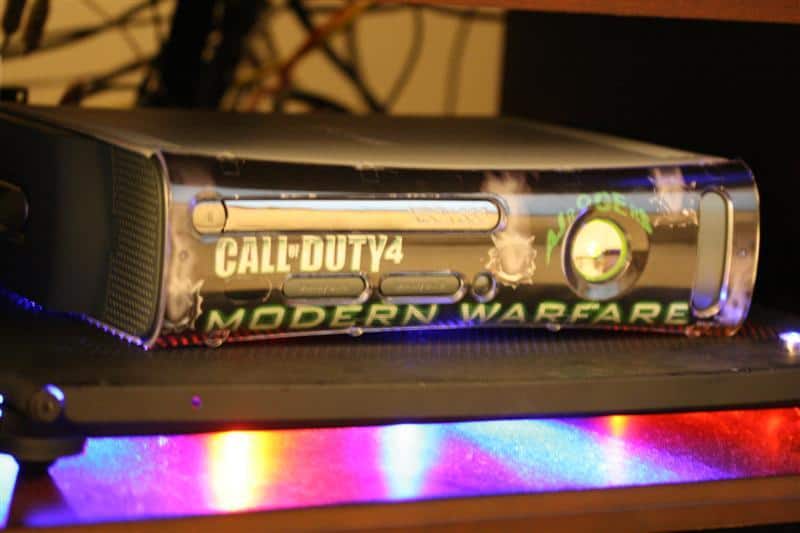
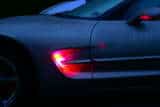
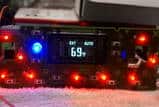
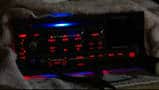
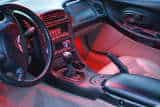
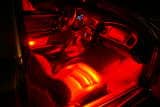
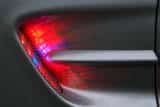
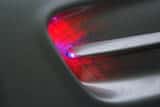
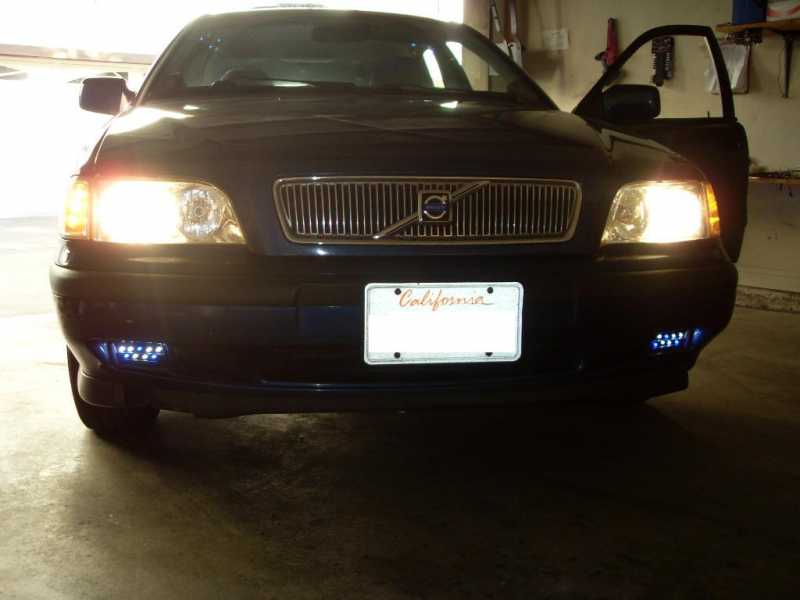
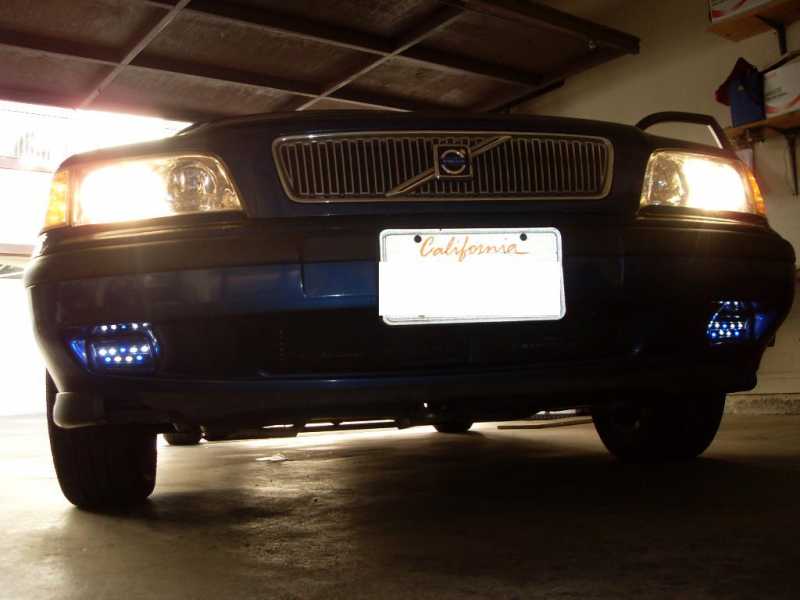
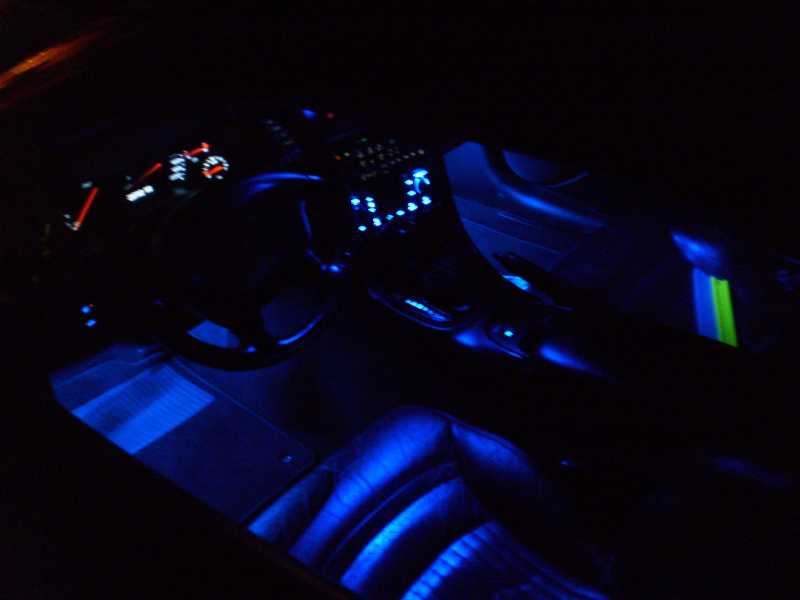
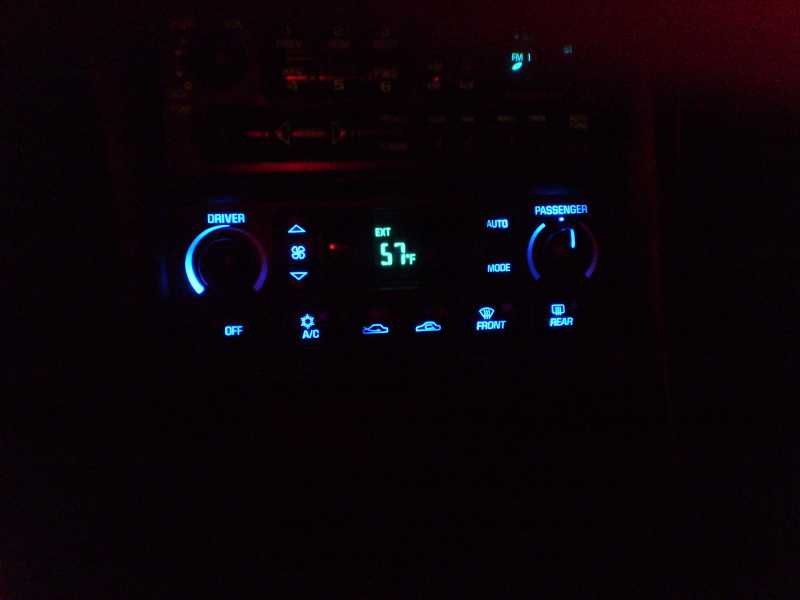
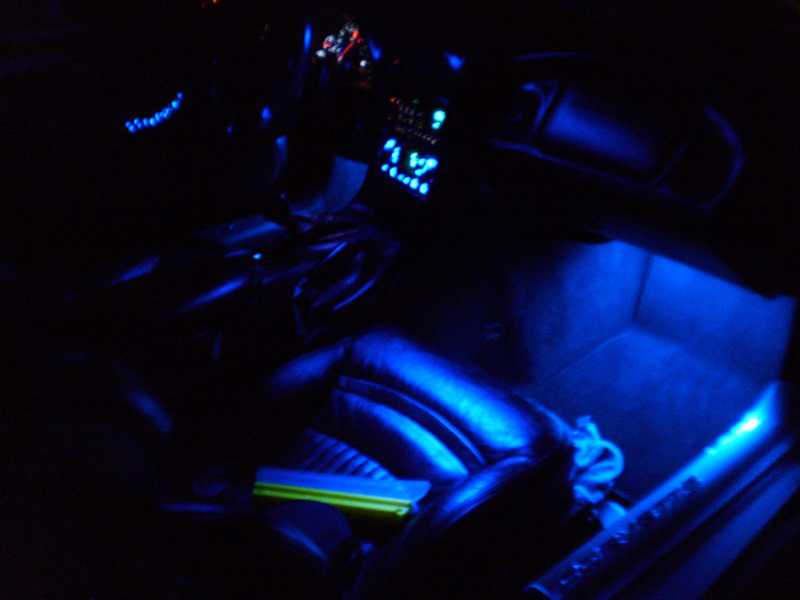
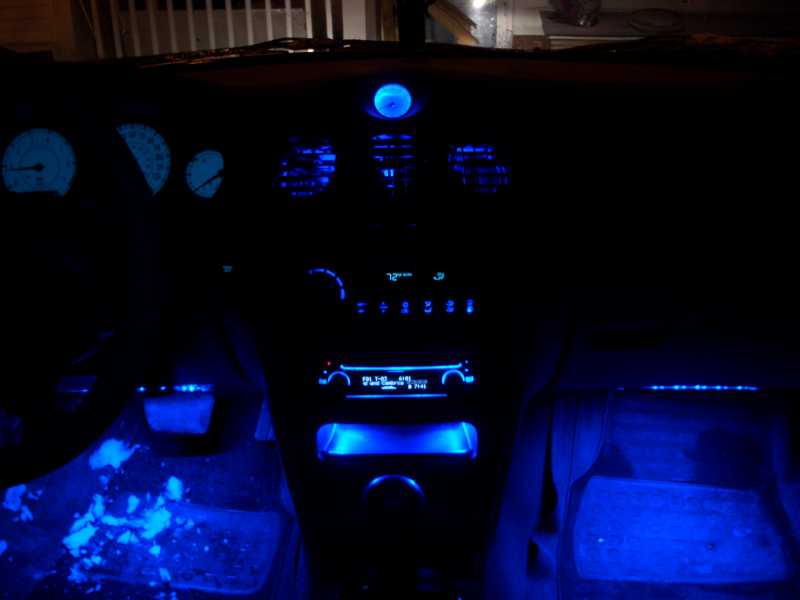
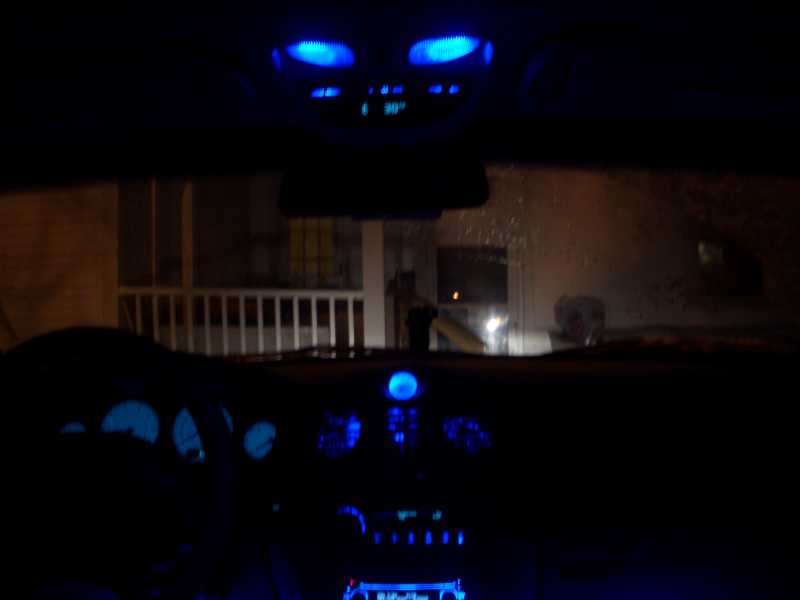
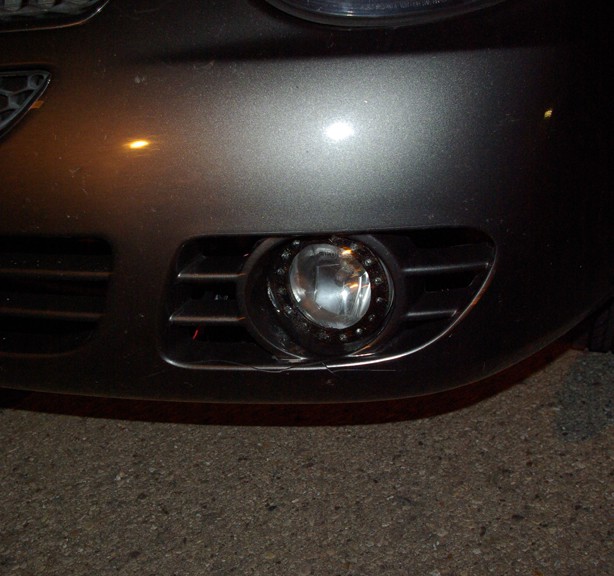
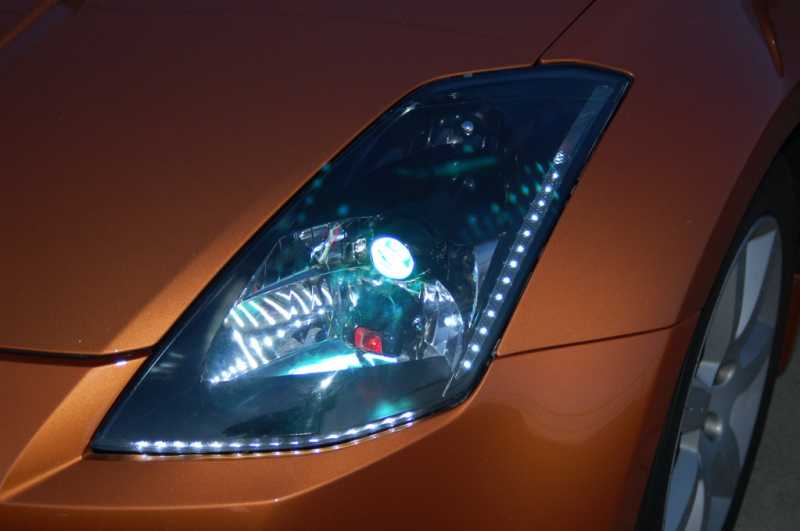
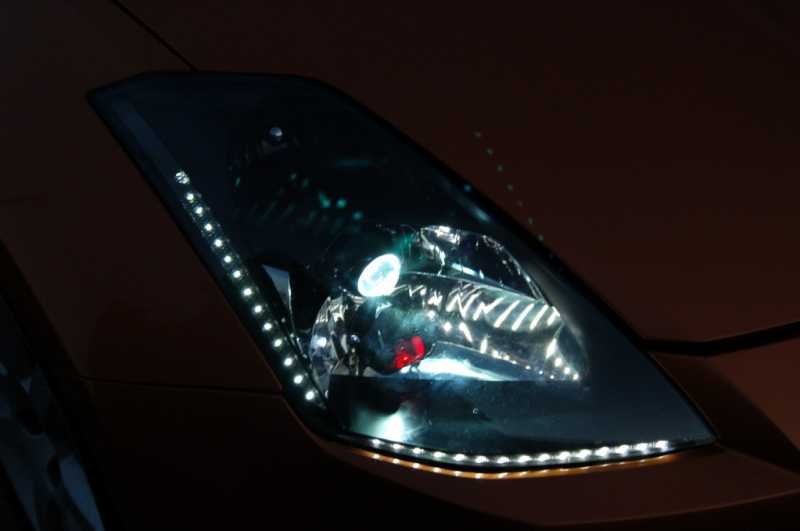
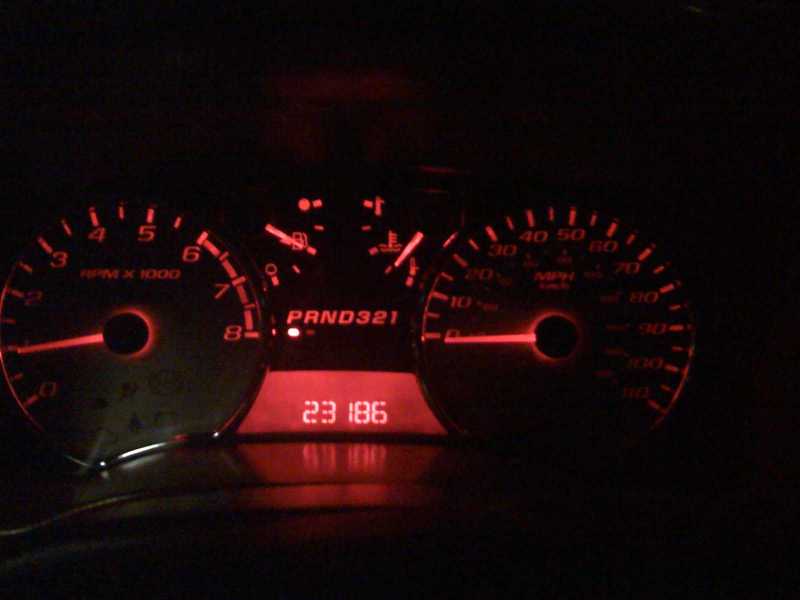
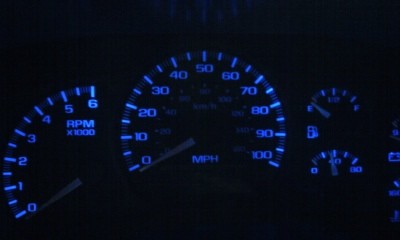
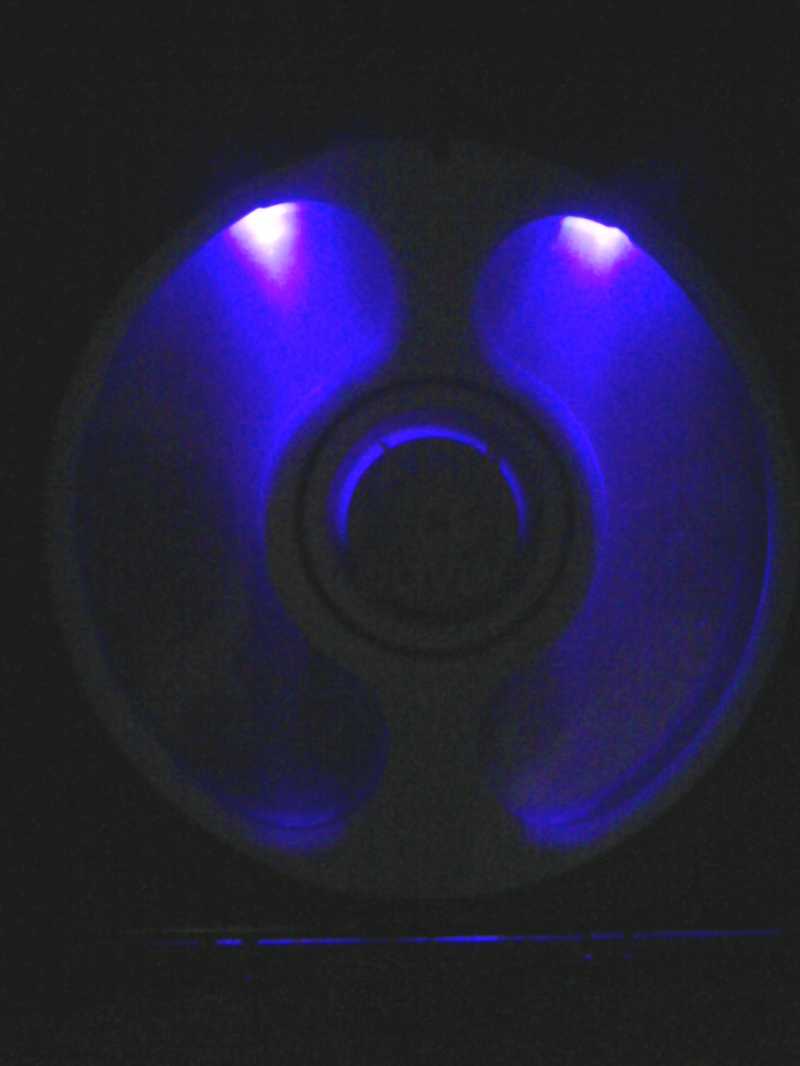
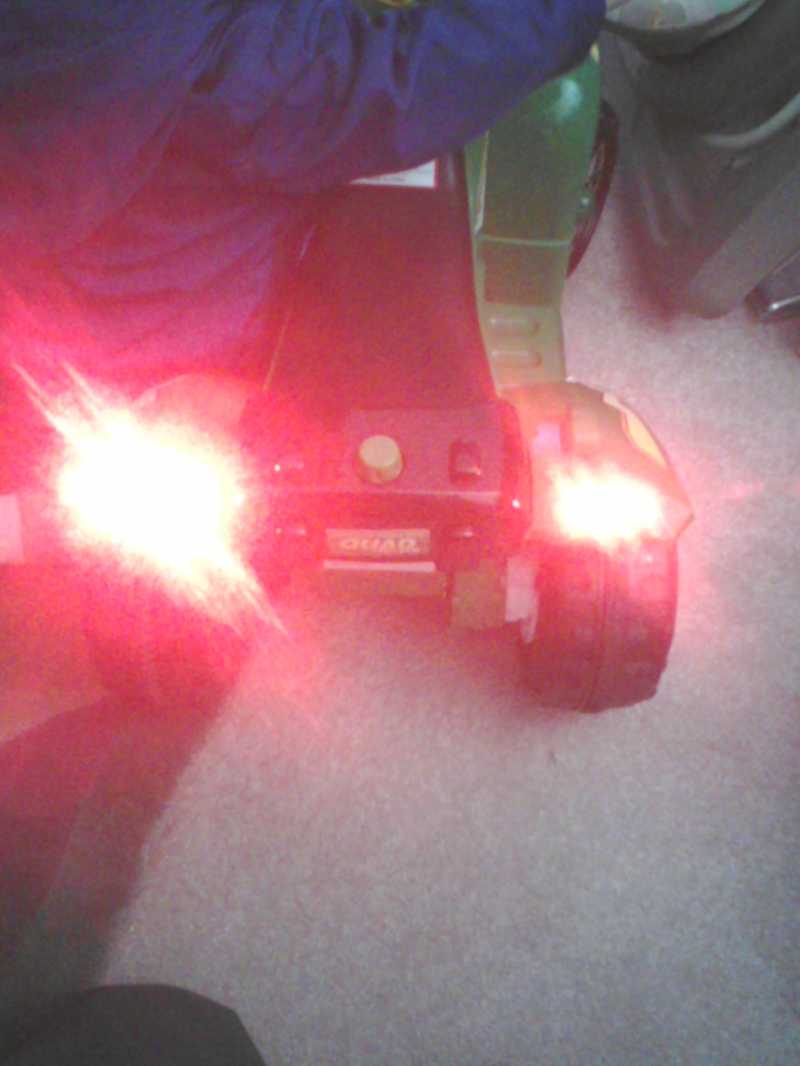
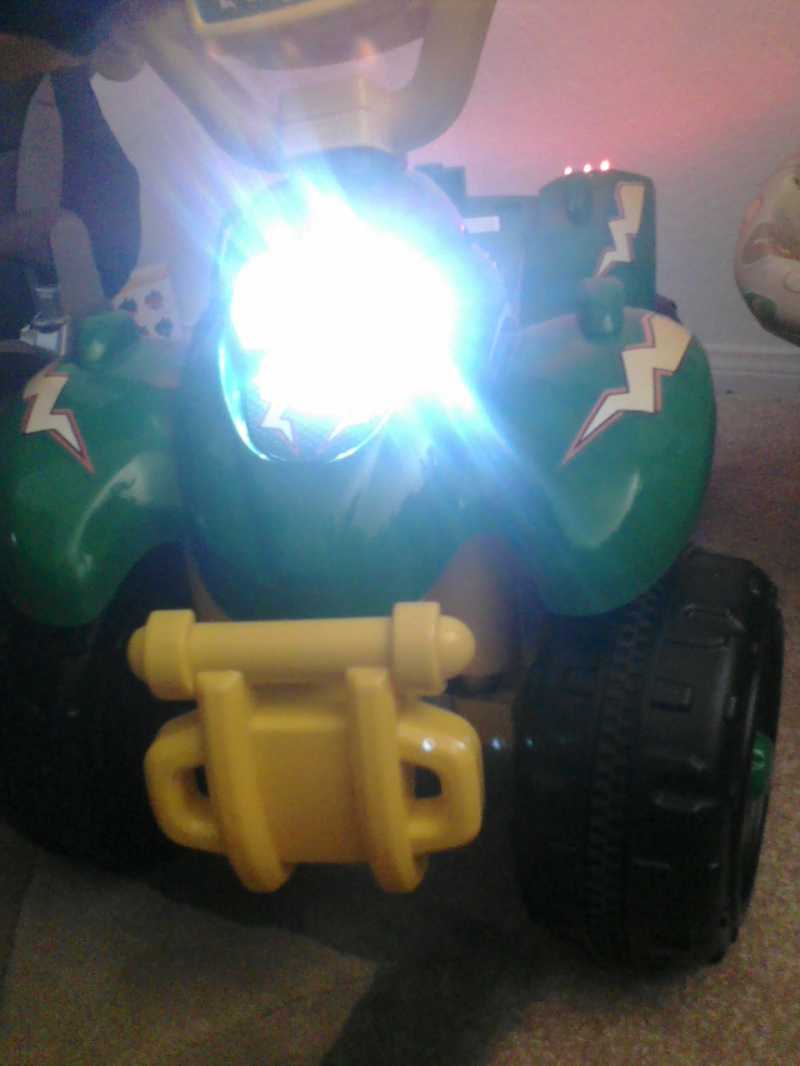
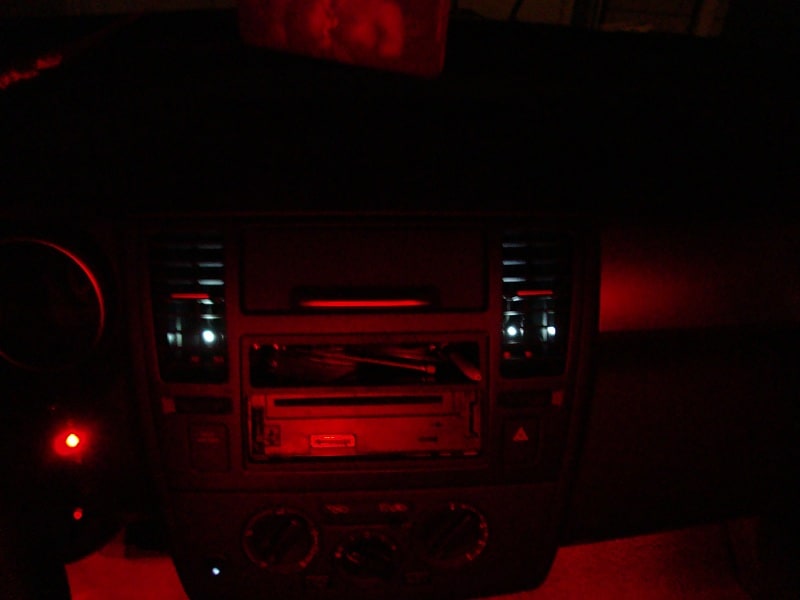
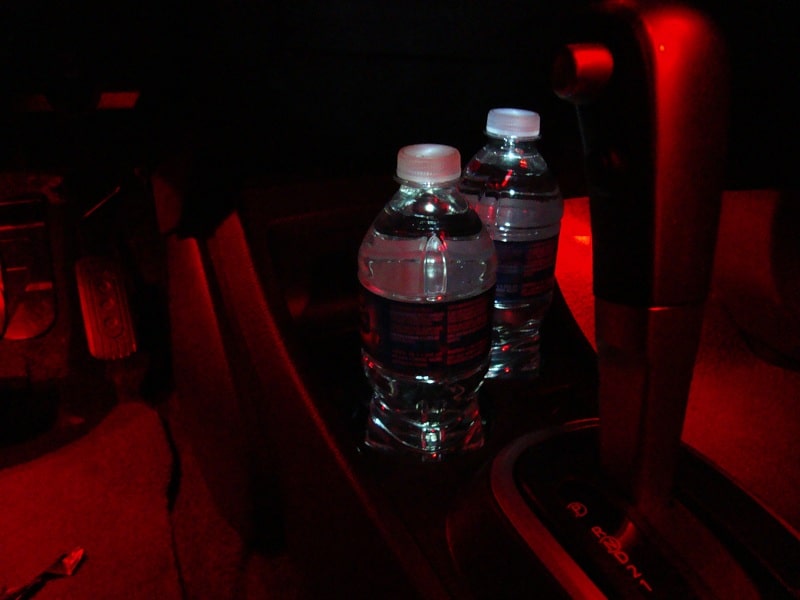
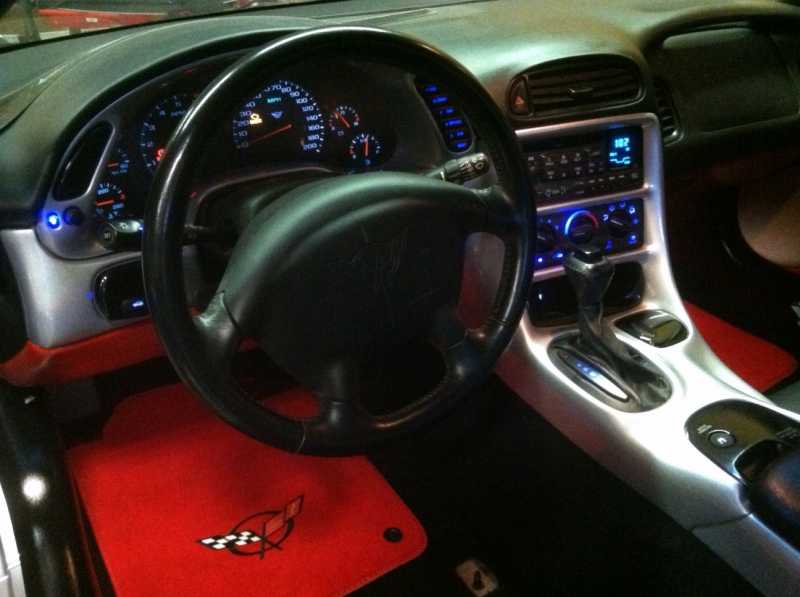
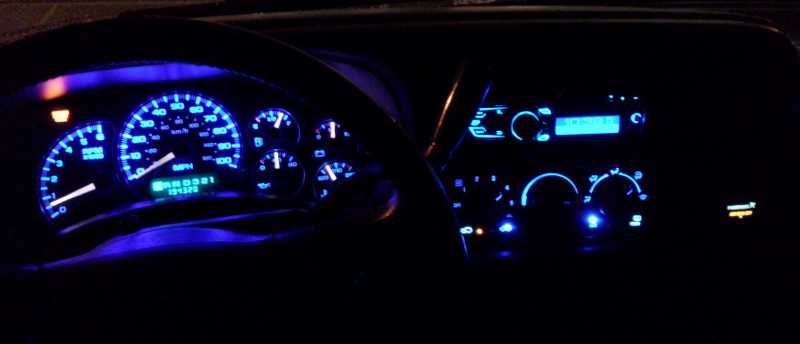
Since we added this product to our range, we've been continually amazed at the creative and inventive ways our customers have found to incorporate LED lighting into the appearance of their vehicles - from speaker grilles to cup holders, under hoods, foot wells, on interior ceilings and in the dash... really, there's no limit to where you can put these surprisingly bright, surprisingly cheap, surprisingly superbrightleds.
In fact, one such customer, finding that the light on his camera drained the battery too quickly, used over 100 white LEDs to create his own custom-made camera light, only to discover it actually produced better color for his photos.
Where can you use LEDs? They look great on:
- Speaker grilles
- Cup holders
- Interior ceiling
- Under the hood
- Under the foot wells
- In the dash
- Dome lights
- Door pockets
- Under the seats
- Glove compartment
- Headlights
- Industrial lighting
Helpful Hints:
Resistance is futile! But resistors are pretty handy...
Depending on how you plan to install your LEDs, you might want to consider the option of using resistors. LEDs are designed to work with roughly 2 to 4 volts of power, which your 12 volt car battery will burn through pretty quickly. If you run too much voltage through LEDs, they will either burn out quickly, or in extreme cases they would stop working altogether.
Thankfully there are two easy, hassle free ways to work around this problem: One is to install the LEDs in series rather than parallel. This method requires some basic electrical engineering math to get the number of LEDs right (depending on color, voltage, etc.) - we'd recommend that only if you know your way around a soldering iron.
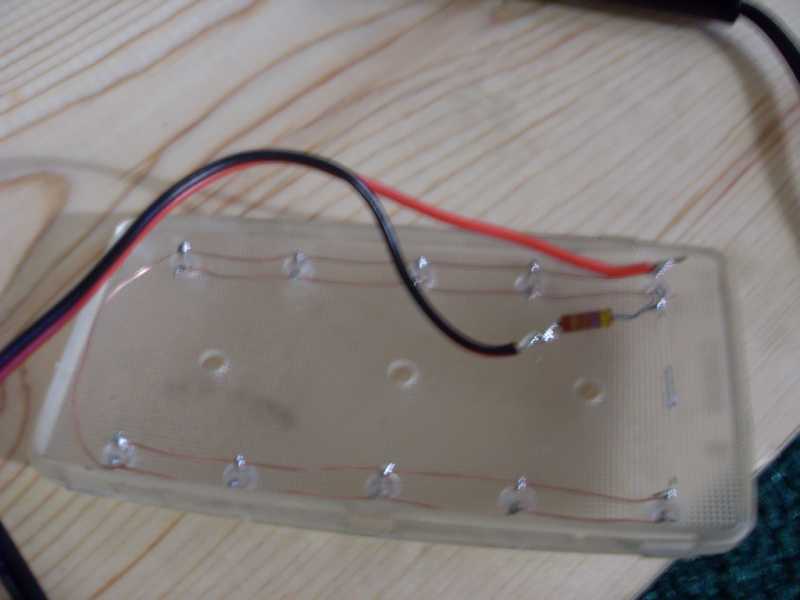
The other method is to install resistors on each LED, which will level out the power flow and prevent the burnout problem (unless, of course, you get very high power surges), and since resistors cost just 5¢ each, that's a genuinely inexpensive way to ensure your LED investment pays off for years to come.
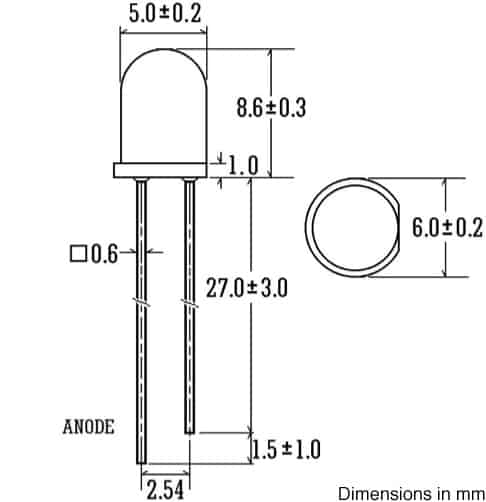
Adding range to your LEDs: If you like LEDs, but want a wider spread of light, simply cut the curved top off of the plastic resin case of the LED with a metal file or some rough sandpaper. As long as you don't cut too close to the diode, your LED will function just fine, and instead of a sharp beam, there'll be more of a spray of light.
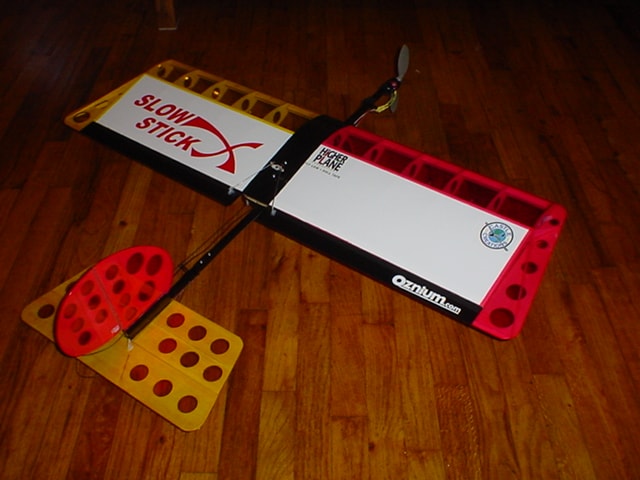
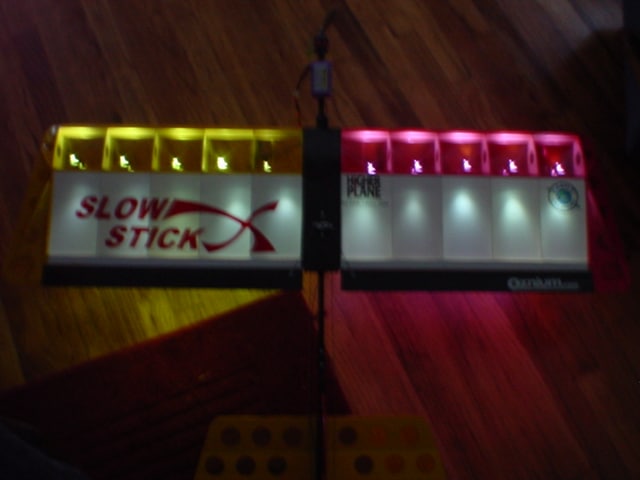
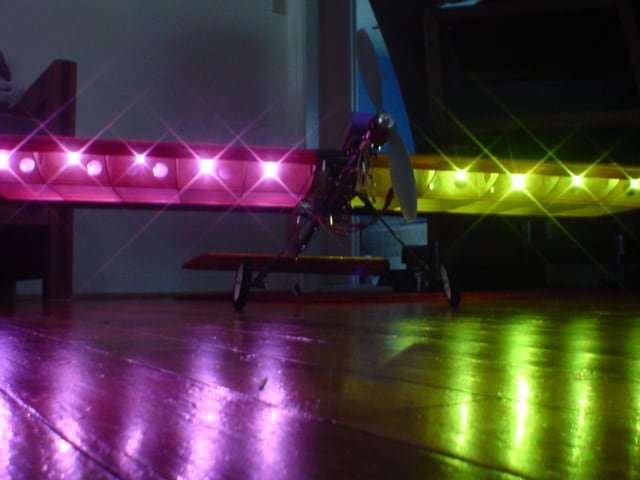
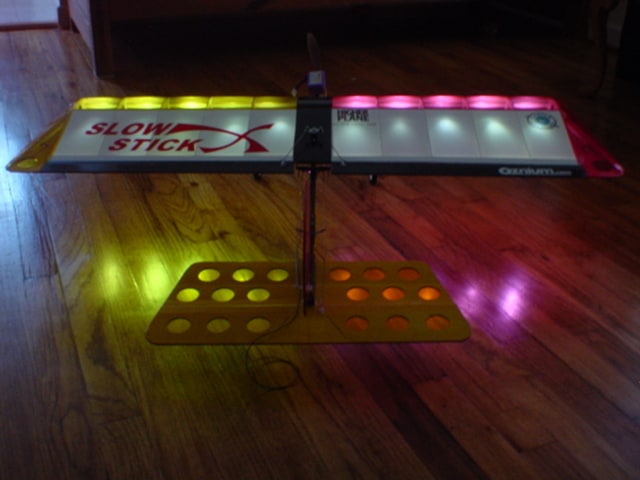
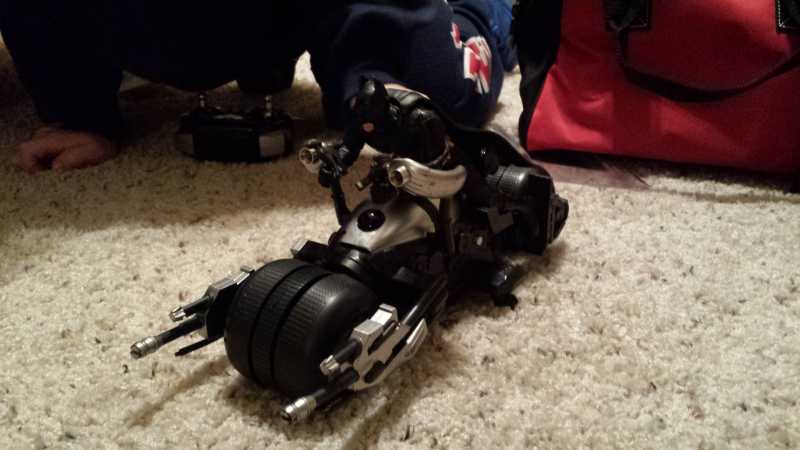
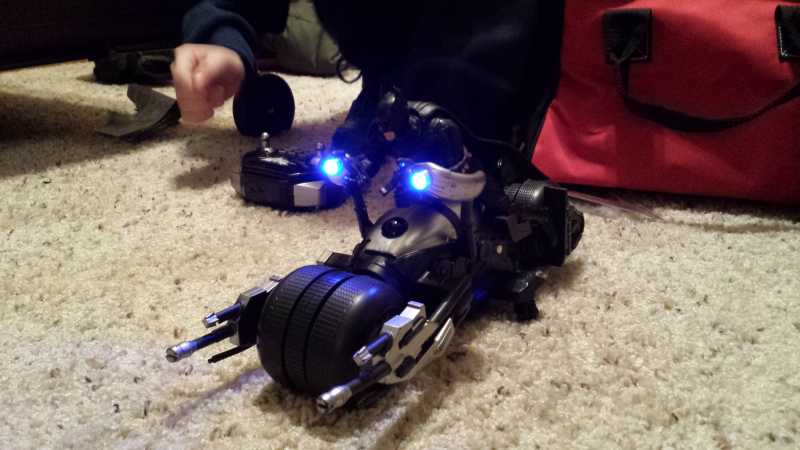
Customer LED Projects

Easy to install instructions for wiring a single LED:
The longer lead of the Light Emitting Diode (LED) is positive (+). Reversing the polarity of the LED will not damage anything; the LED will simply not light.Step 1 (optional): If you want the wiring of the finished product to be as small as possible, then trim the leads of the LED and resistor to about 1/2 inch each. This step is not necessary ? do this only if you want the wiring to be very small.
Step 2: Connect the resistor and the positive lead of the LED by either soldering or twisting them together. The resistor orientation does not matter.
Step 3: Connect a wire to the open end of the resistor. You will eventually hook up this wire to a positive 12v source. Connect another wire to the (-) lead of the LED. This will be hooked up to ground (-). To connect the wires to the LED and resistor, either solder or twist them on.
Step 4: Insulate the connections with either electrical tape or heat shrink tubing.
Step 5: Connect the (-) lead to ground. Connect the wire that you connected to the resistor to a positive 12v-power source. The LED should now light.
