
How to make LED lights flash to music
Description
This is a brief description of how to make LED lights flash with your music as done by an Oznium customer. He used Oznium’s Music Beat LED controller, AC adapter and LED strip lights to demonstrate all the possible capabilities of this music beat LED controller, make your LEDs come to life using these great ideas whether it’s at your next party or just on your car.
Details
For this project, the customer wanted to make his LED strip lights dance to his music.
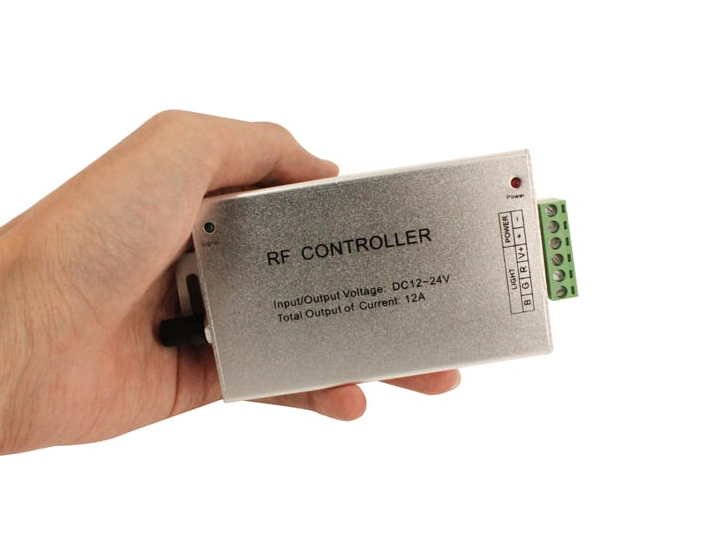
He chose Oznium’s Music Beat LED controller which works with Radio Frequency (RF) and has 8-color functionality.
He demonstrates all the possible capabilities of this versatile controller in this video.
This is an easy to understand summary of his video explaining how to make LED lights flash to music using an LED controller.
Components
-
Music Beat LED controller; comes with controller brain unit
-
AC adapter
-
LED strip lights (Or any 12volt LEDs of your choice)
Instructions
You can make LEDs flash to the music using a LED controller:
-
Youll need to get to know your equipment so lets start at the beginning, look at your Controller Brain Unit from the top.On the one side of it when viewed from left to right, you’ll see the two 12volt input wires, and then two counter positives and three negatives.
-
On the other side, you’ll see “mic”, a spot for your audio jack, and a “sens” dial which allows you to tune the sensitivity of the sound you’d like the Controller Brain Unit to pick up on. The last one is the DC input which of course is great for indoor use.
-
The brain unit comes with a remote controller, battery included, and an auxiliary jack that comes without the wire, but not to worry, wiring your aux jack is simple! All you have to do is unscrew the top and you can easily insert your wire. Right at the tip of your aux jack will be positive while the rest is negative. The short leg is your positive while the longer leg is your negative which is good to know if you want to connect it to a speaker wire.
-
Now for that exciting looking LED controller! Don’t let all those buttons intimidate you, the first two buttons control the brightness of your LEDs, the first will turn the brightness up and the second will turn it down.
-
Next to those, you’ll find your play button, this allows you to pause the flashing of your lights, the next button is your power button.
-
Next up on your LED controller, you’ll see 8 buttons each with their own color so you can select a specific color if you wish.
-
All the way on the far right bottom of the LED controller you’ll find the two-speed buttons, one on top of the other for speeding up or slowing down the flashing of your LEDs.
-
When set to “mic”, your LEDs will dance to the music or react to any sound that’s loud enough for it to pick up. When you plug in your mobile phone or stereo system to the audio jack (which you’ve wired up) of the controller brain unit which will allow you to isolate the music so your LEDs flash and dance to the music only and not any outside sounds and noises.
-
Finally, if you connect an AC adapter to your controller brain unit, it will automatically switch through the different color flashing modes and settings.
-
There you have it, you can now make your LEDs flash to the music in a rainbow of colors!