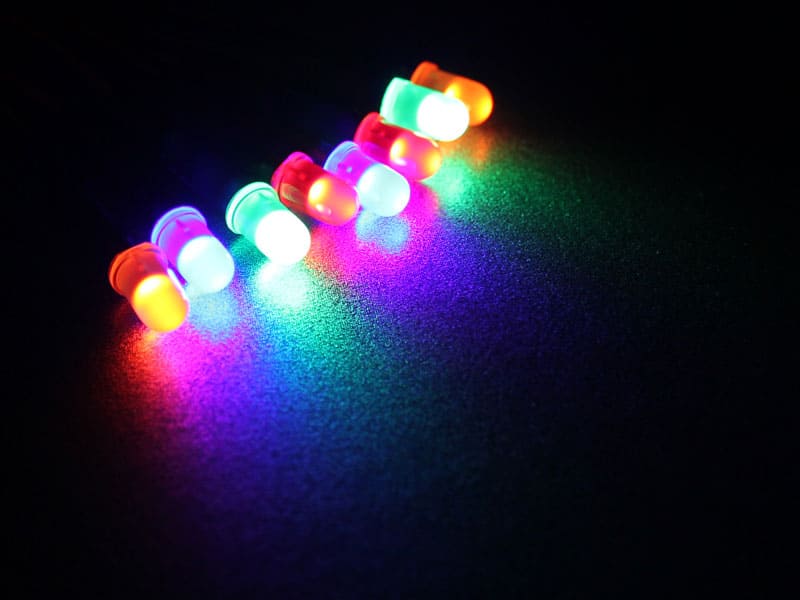
With these LEDs you can even tell what color they are when they're off. Never guess again.
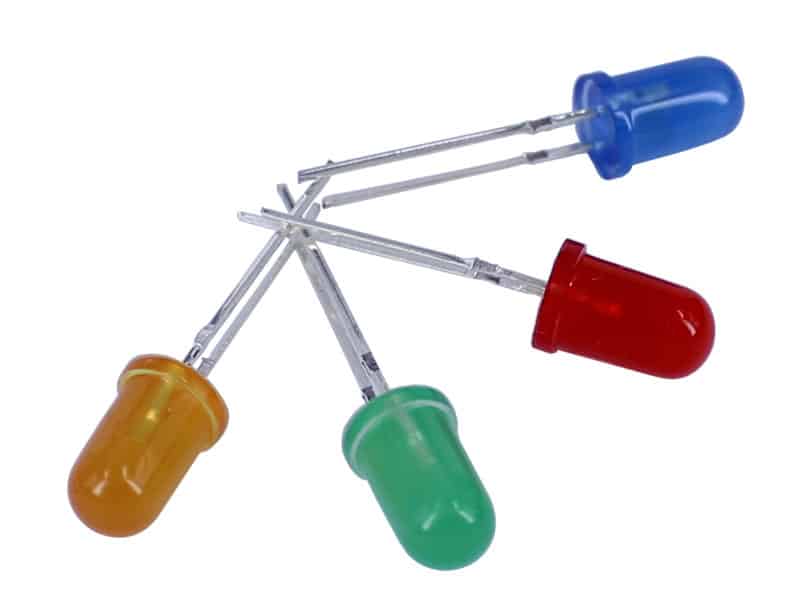
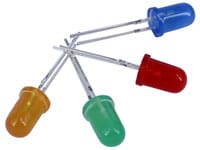
A new diffused color lens version is available in 4 colors: red, blue, green & amber, all with a common 5mm diameter.
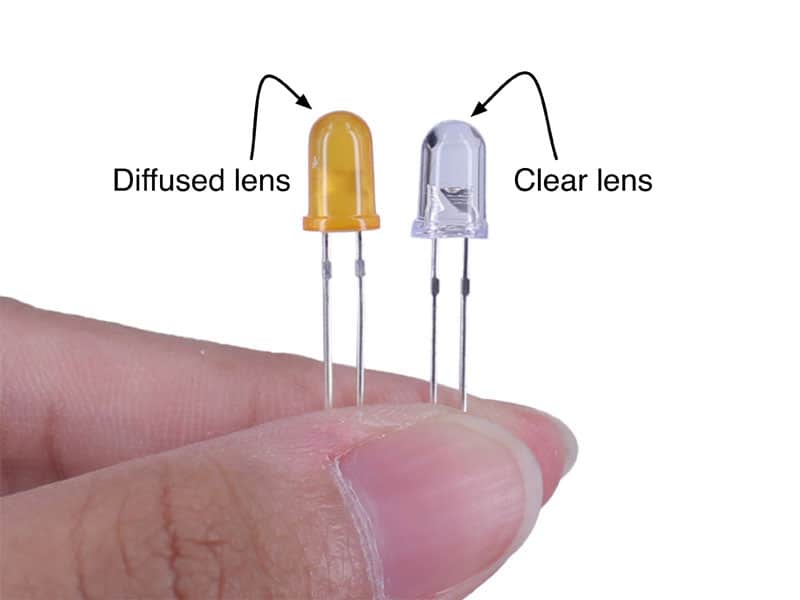
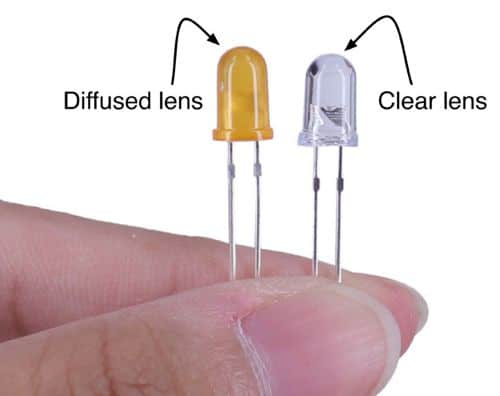
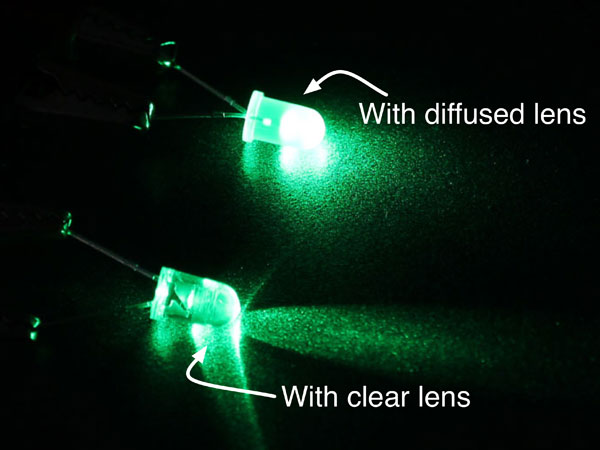
What is the difference between clear lens and diffused lens?
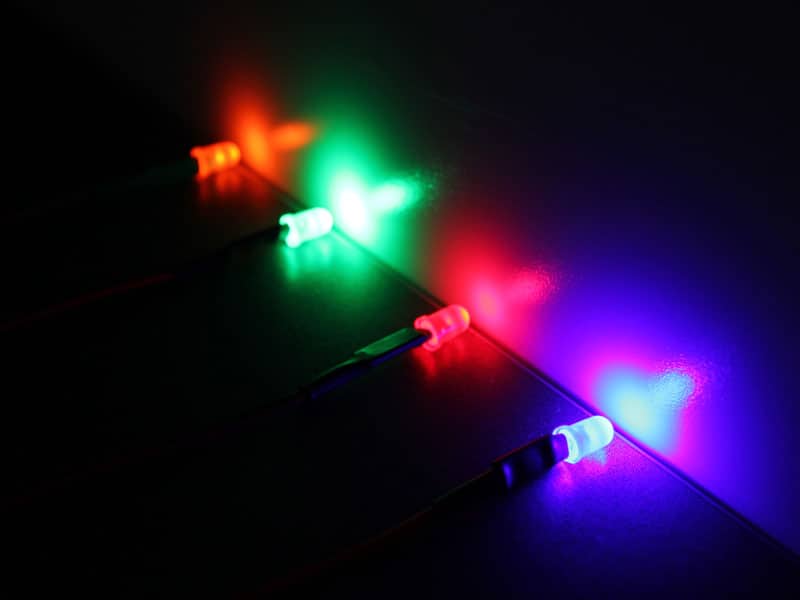
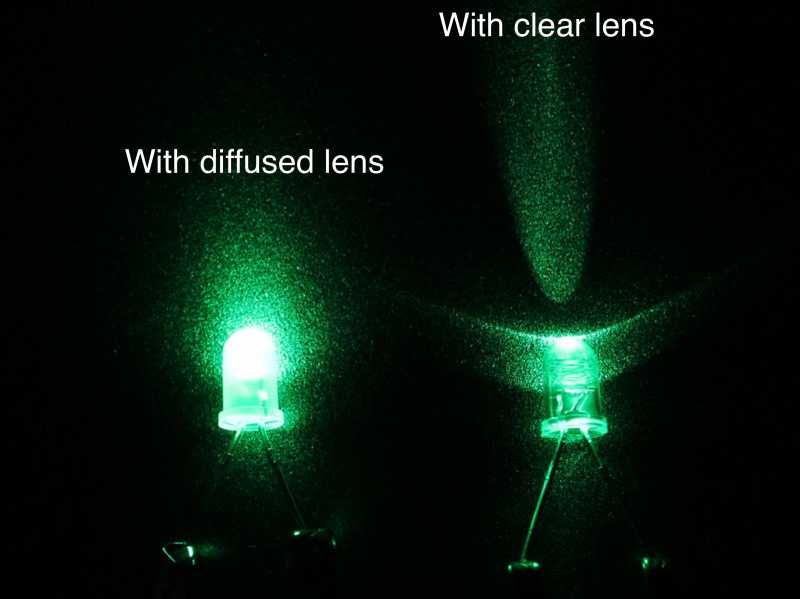
- LEDs with a clear lens have a narrower beam width. The light spot is more sharp and focused.
- A diffused LED spreads the beam out. The diffused lens reduces the brightness to some extent. The light pattern of the LED with a diffused lens is more uniform.
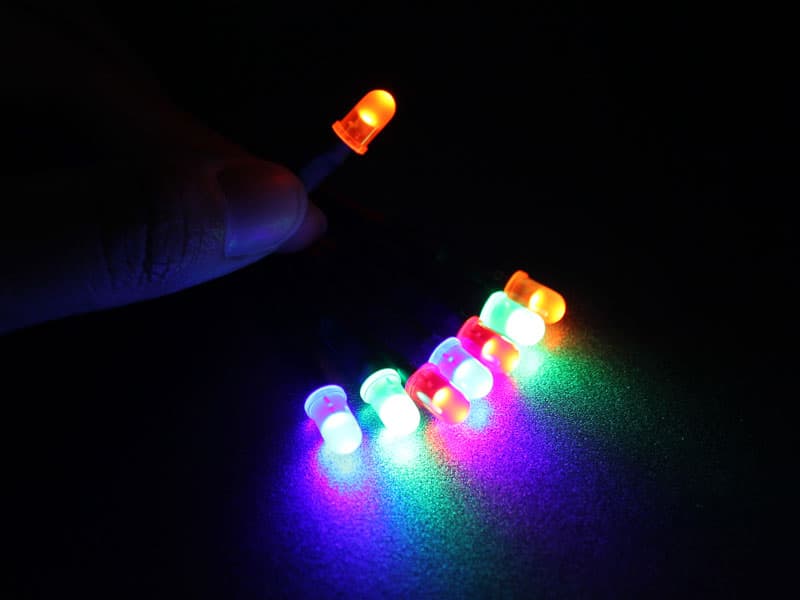
A prewired version is also available here!
They can be installed just about anywhere on your vehicle or home, draw a tiny amount of battery power, last for years and produce next to no heat. How could you not buy some of these fancy diffused lens LEDs and create infinity DIY combination?
⇒ Our Super Bright LEDs are also highly recommended to you if you need a clear lens.
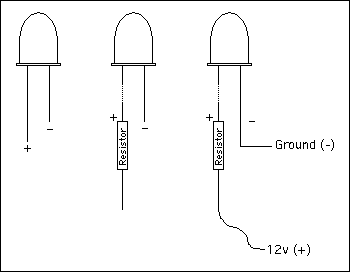
Instructions for wiring a single LED:
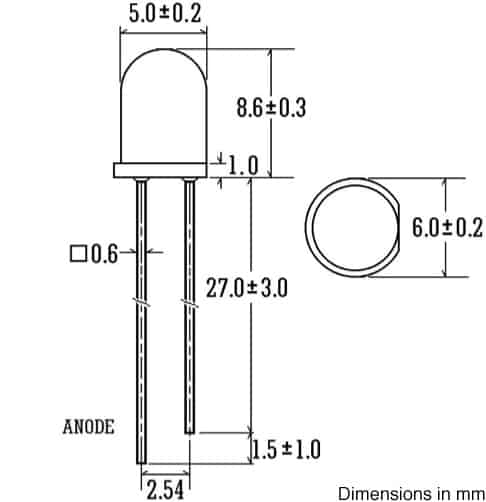
The longer lead of the Light Emitting Diode (LED) is positive (+). Reversing the polarity of the LED will not damage anything; the LED will simply not light.
Step 1 (optional): If you want the wiring of the finished product to be as small as possible, then trim the leads of the LED and resistor to about 1/2 inch each. This step is not necessary ? do this only if you want the wiring to be very small.
Step 2: Connect the resistor and the positive lead of the LED by either soldering or twisting them together. The resistor orientation does not matter.
Step 3: Connect a wire to the open end of the resistor. You will eventually hook up this wire to a positive 12v source. Connect another wire to the (-) lead of the LED. This will be hooked up to ground (-). To connect the wires to the LED and resistor, either solder or twist them on.
Step 4: Insulate the connections with either electrical tape or heat shrink tubing.
Step 5: Connect the (-) lead to ground. Connect the wire that you connected to the resistor to a positive 12v-power source. The LED should now light.